3 Tips for Better Portraits | Kirby K Photography

August 24, 2017
While I dabble in all kinds of photography, ranging from weddings to seniors to boudoir, there is one common thread in all of them – creating killer portraits! Getting the perfect portrait is something that I strive to do in every single session that I photograph. I want my clients emotion to show through and to capture a part of their personality. I use these 3 tips every single time I’m taking portraits, and I hope it helps you the next time that you are taking portraits!

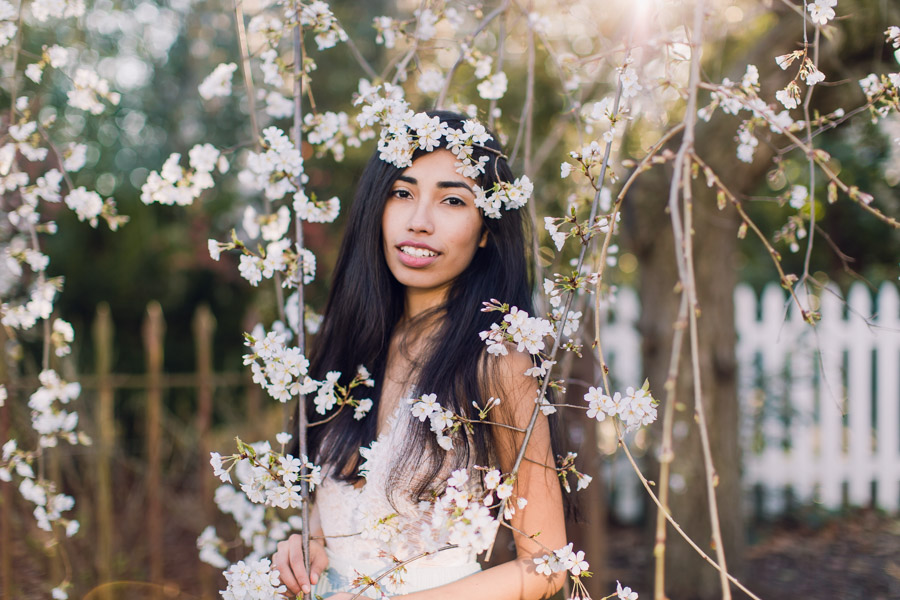
1.Find Your Ideal Lighting This is probably the most common tip that you hear and it can also be the most frustrating! You may be thinking: what the heck do you mean by ideal lighting?! Well, the reason that I say ‘ideal’ lighting is because different photographers tend to gravitate towards different kinds of light depending on their aesthetic. For me, my ideal lighting is one that is shady and even, lighting my subject the same from head to toe (and creating those creamy skin tones!) I like locations that have the sun positioned in the back, with something tall blocking it, like a building or trees. Not only does this create even shade for your subject, but it can also create great light in the background. This is ideal for those light & airy portraits, like the one above. Photographers with a more dramatic or moody feel may want to find hard light, where the light may be coming in from one side and creating shadows on the subject. Lighting for me is more important than the background – I will pick a location with great lighting over a location with a cool background every single time!

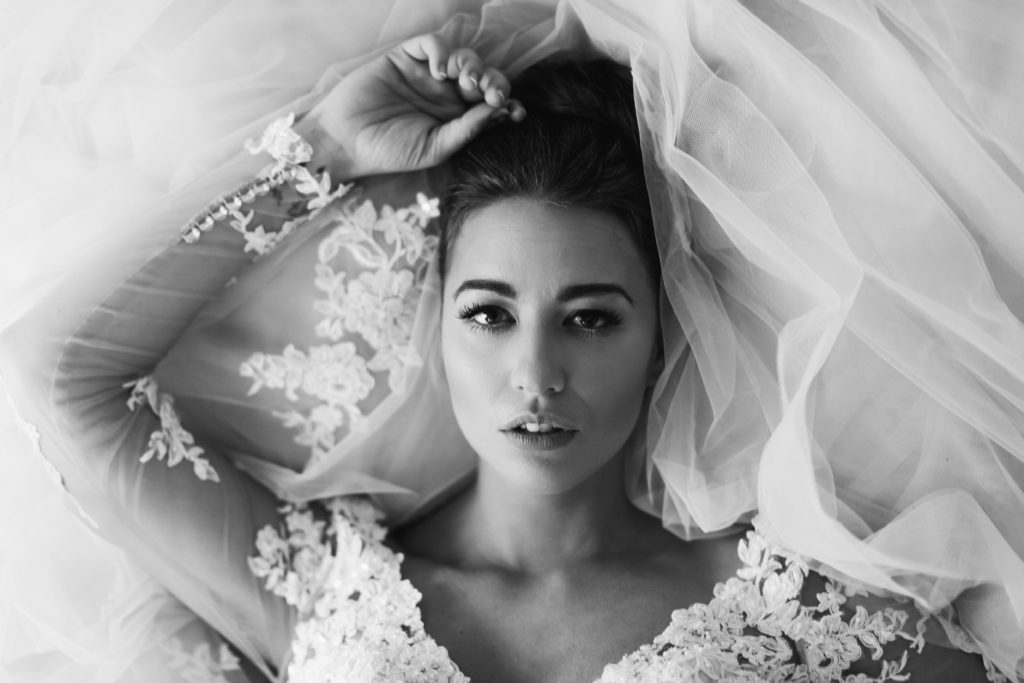
2. Focus On The Eyes This is something that can easily make or break any portrait. There have been portraits that I was not in love with during the shoot, until I went home and saw that the eyes were tack sharp while editing – and it truly makes the portrait! Other times I have had to let go of portraits where the eyes were out of focus, even though everything else was perfect. Another tip is that you can brighten & sharpen the eyes ever so slightly while editing, and you won’t believe how that tiny bit can truly make a portrait pop! Of course every rule is made to be broken, and I have absolutely been guilty of including favorites from time to time when the eyes are out of focus.

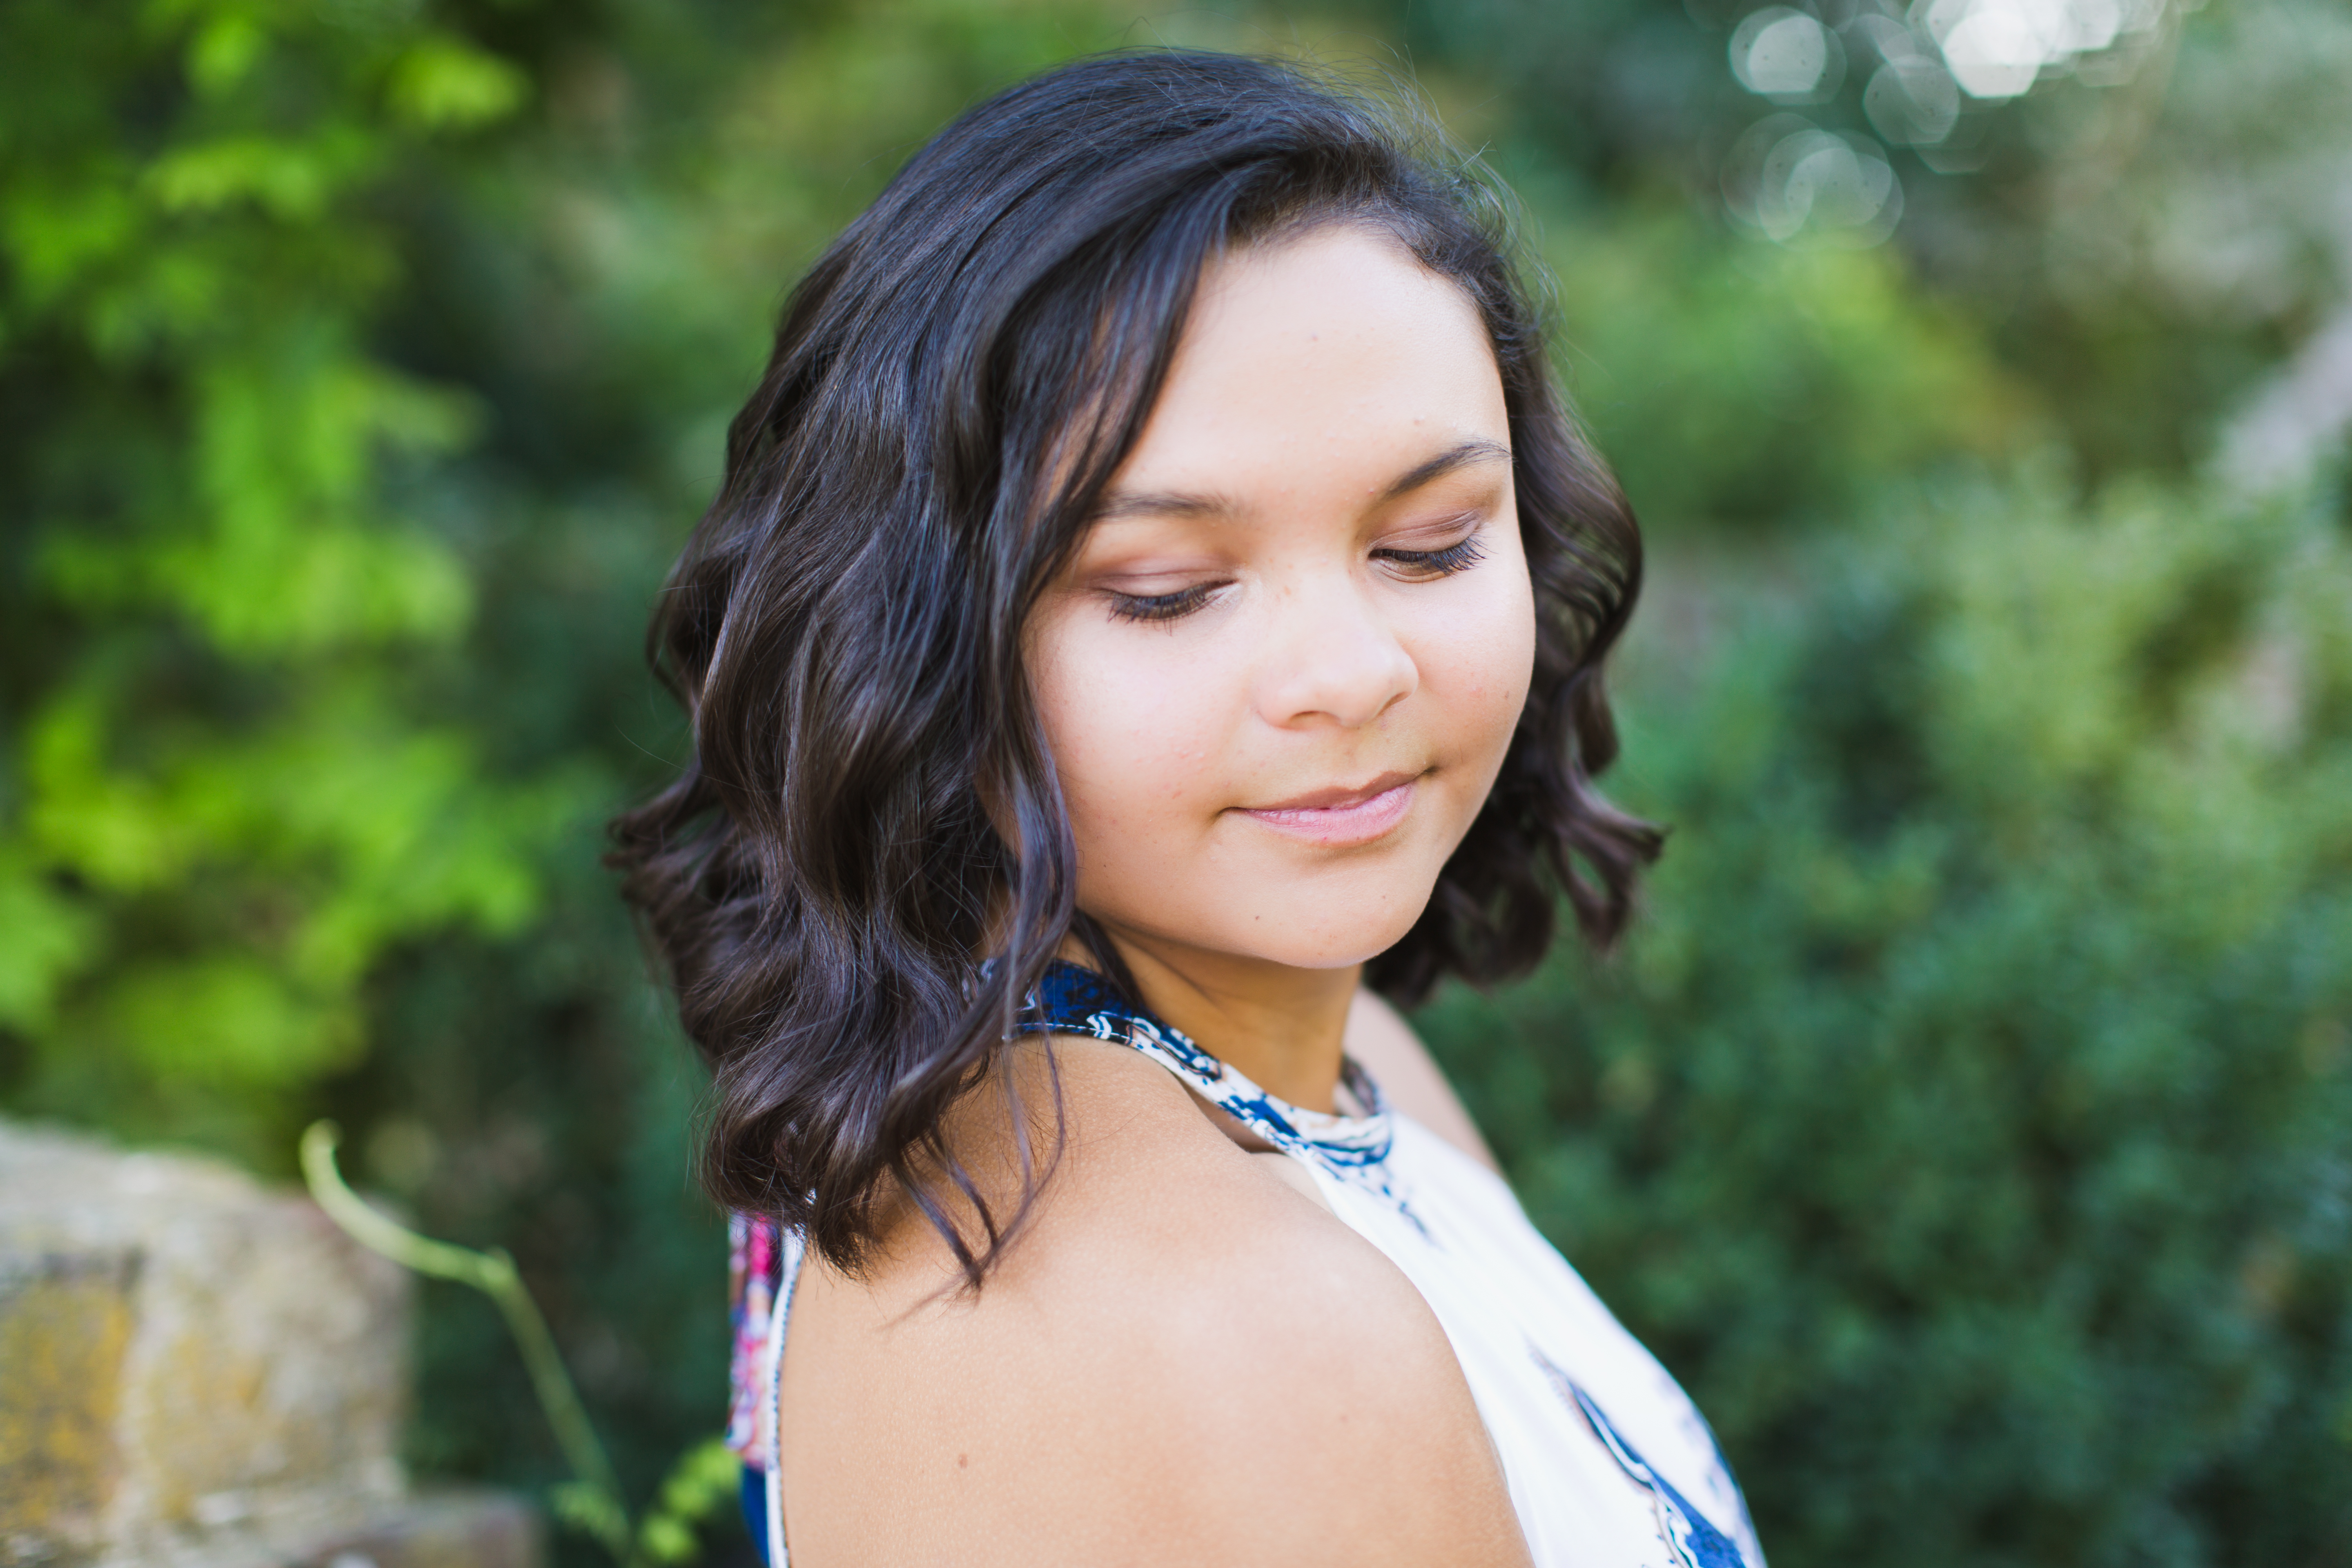
3. Lower Your F-Stop This was the single biggest step that I took to up my portrait and overall photography game. By lowering your f-stop, which in turn gives you a larger aperture, you are creating a larger depth of field. This is what creates those dreamy, blurred out backdrops. Depending on how much light I need, I typically range anywhere from an f-stop of 1.8 – 3.5 when shooting portraits. One thing to be careful of is keeping your focus; the smaller the depth of field, the more precise you have to be with focusing. Make sure that whatever you are focusing on (in this case Sana’s eyelashes) is still in focus throughout the shoot! The picture above was shot with an f-stop of 2.0, ISO of 100 and 1/160 of a second.
I hope you guys got a little something out of this educational post, because I have a lot more tips & tricks up my sleeve that I can’t wait to share! Happy shooting!
xo Kirby